How to Set Up a Dessert Table (Easy Step-by-Step Guide)
A dessert table is the showpiece of any party. It holds the cake and treats, and it becomes the spot everyone photographs. The good news is that a beautiful dessert table is easy to build. You just need a backdrop, some height, and a simple color plan. This guide walks you through how to set up a dessert table step by step.
At DecorWillow, our best tip is to add height. Put some treats up high and some down low. A flat table looks plain, but a table with different levels looks styled.
- Best for: birthdays, showers, holidays
- Time: about 1 hour
- Cost: from ~$30
- Key trick: vary the heights
- Difficulty: beginner-friendly
Table of Contents
- What you will need
- How to set up a dessert table step by step
- Add a backdrop
- Color and styling tips
- Before and after
- Photography tips
- Common mistakes to avoid
- Advanced Planning Tips
- Printable Setup Timeline
- Troubleshooting
- Dessert table checklist
- FAQ
What you will need
You likely have most of this already. Here is the simple list:
- A table (a regular folding table works fine)
- A tablecloth or fabric runner
- A backdrop, like a balloon garland or draped fabric
- Cake stands and risers for height
- Plates, trays, and glass jars
- Your cake, cupcakes, cookies, and treats
- A few small decorations, like flowers or greenery
How to set up a dessert table step by step
Follow these steps in order and the table comes together fast.
Step 1 — Place the table and cover it
Put your table against a wall. Cover it with a cloth or runner that matches your colors. A plain cloth keeps the focus on the treats.
Step 2 — Add your backdrop
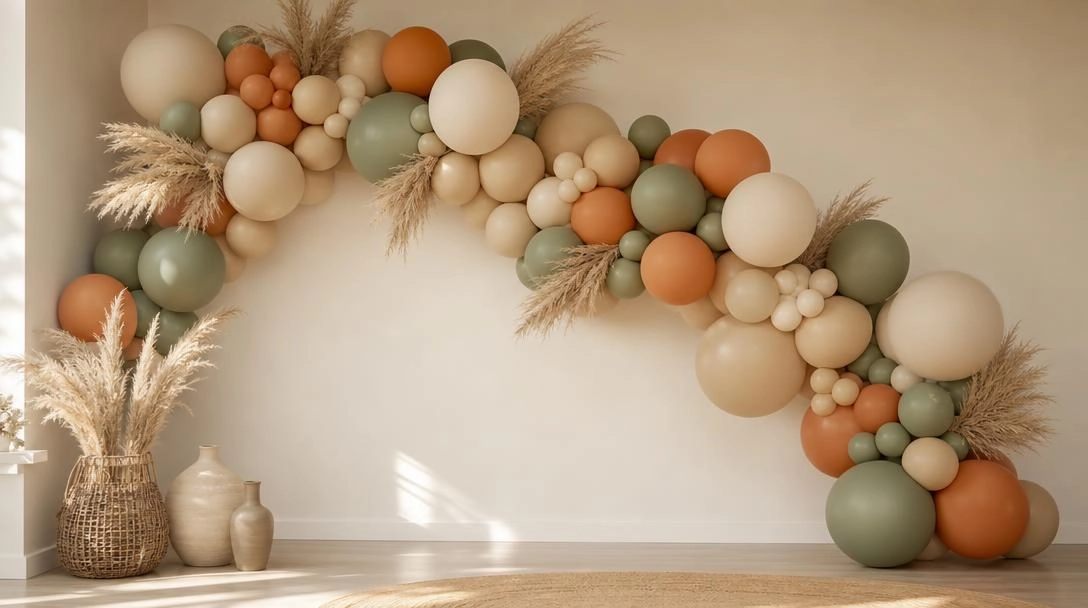
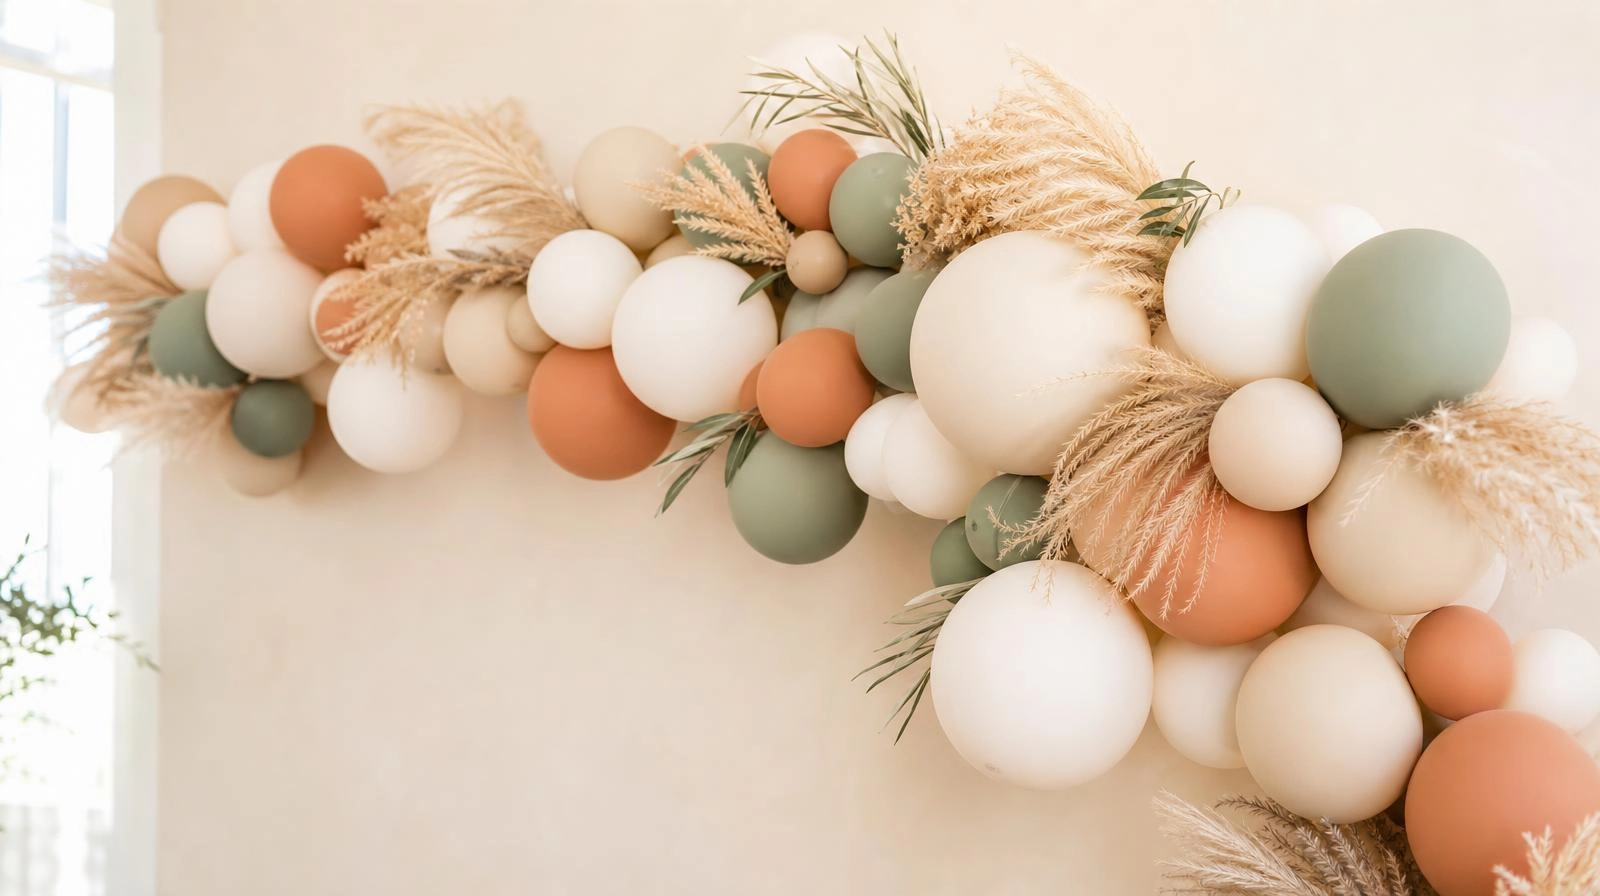
Hang a backdrop behind the table. A balloon garland or draped fabric works great. This frames the whole display. Here is how to make a balloon garland if you need one.
Step 3 — Build height with stands and risers
This is the most important step. Place cake stands and risers at different heights across the table. Height is what makes a table look professional.
DIY Alternative: You don’t need to buy expensive risers! Stack sturdy cardboard boxes, heavy books, or inverted bowls and drape your tablecloth over them to create hidden, free height.
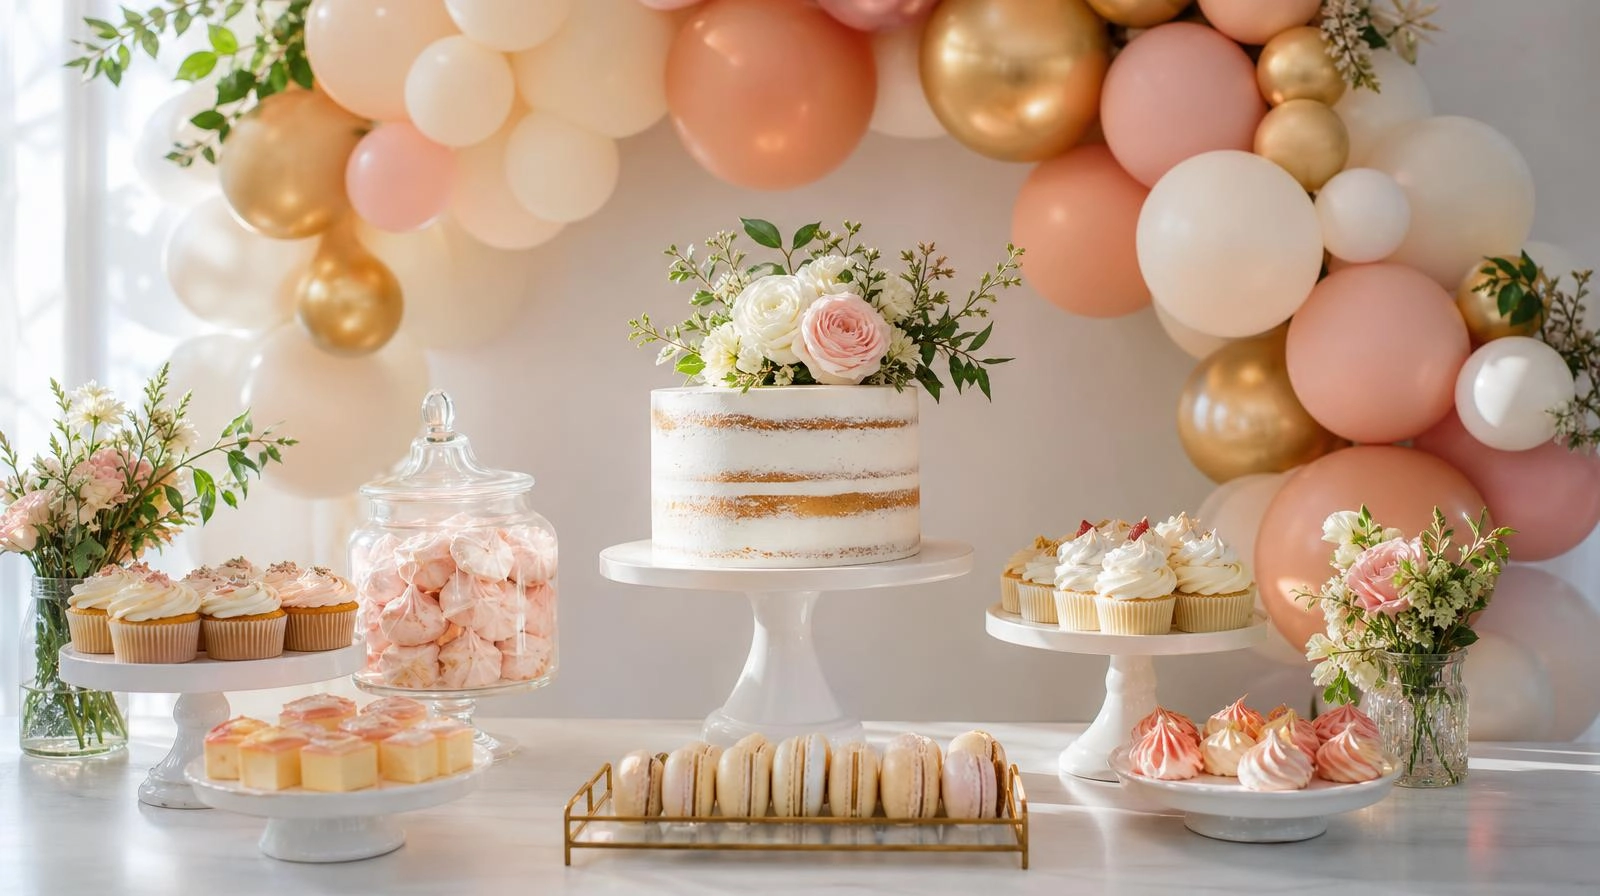
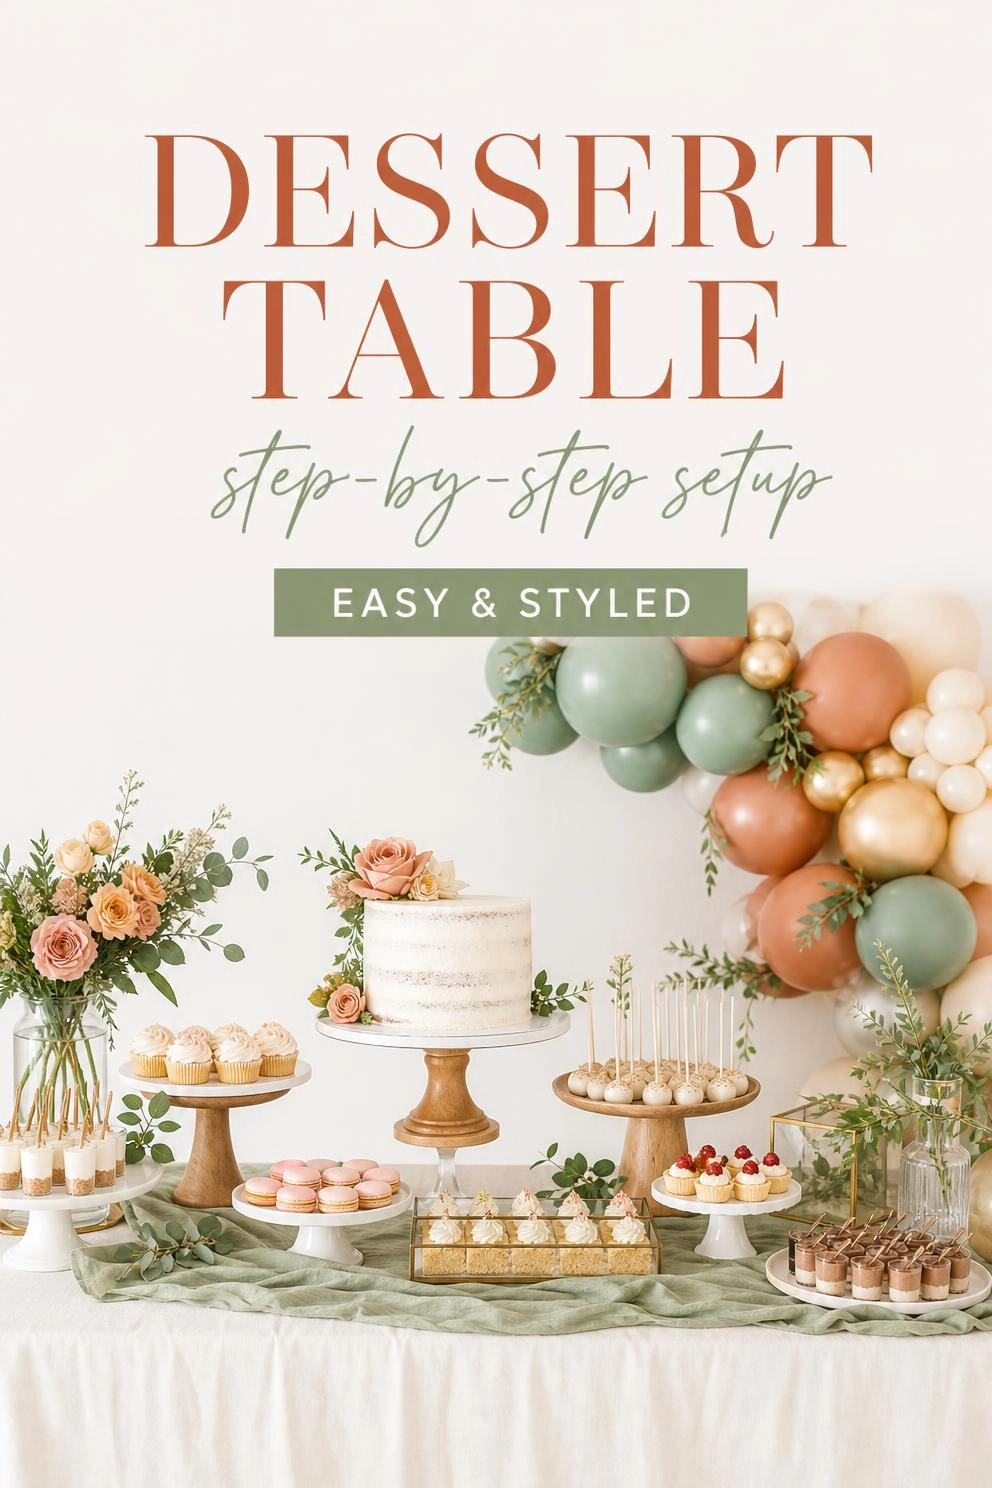
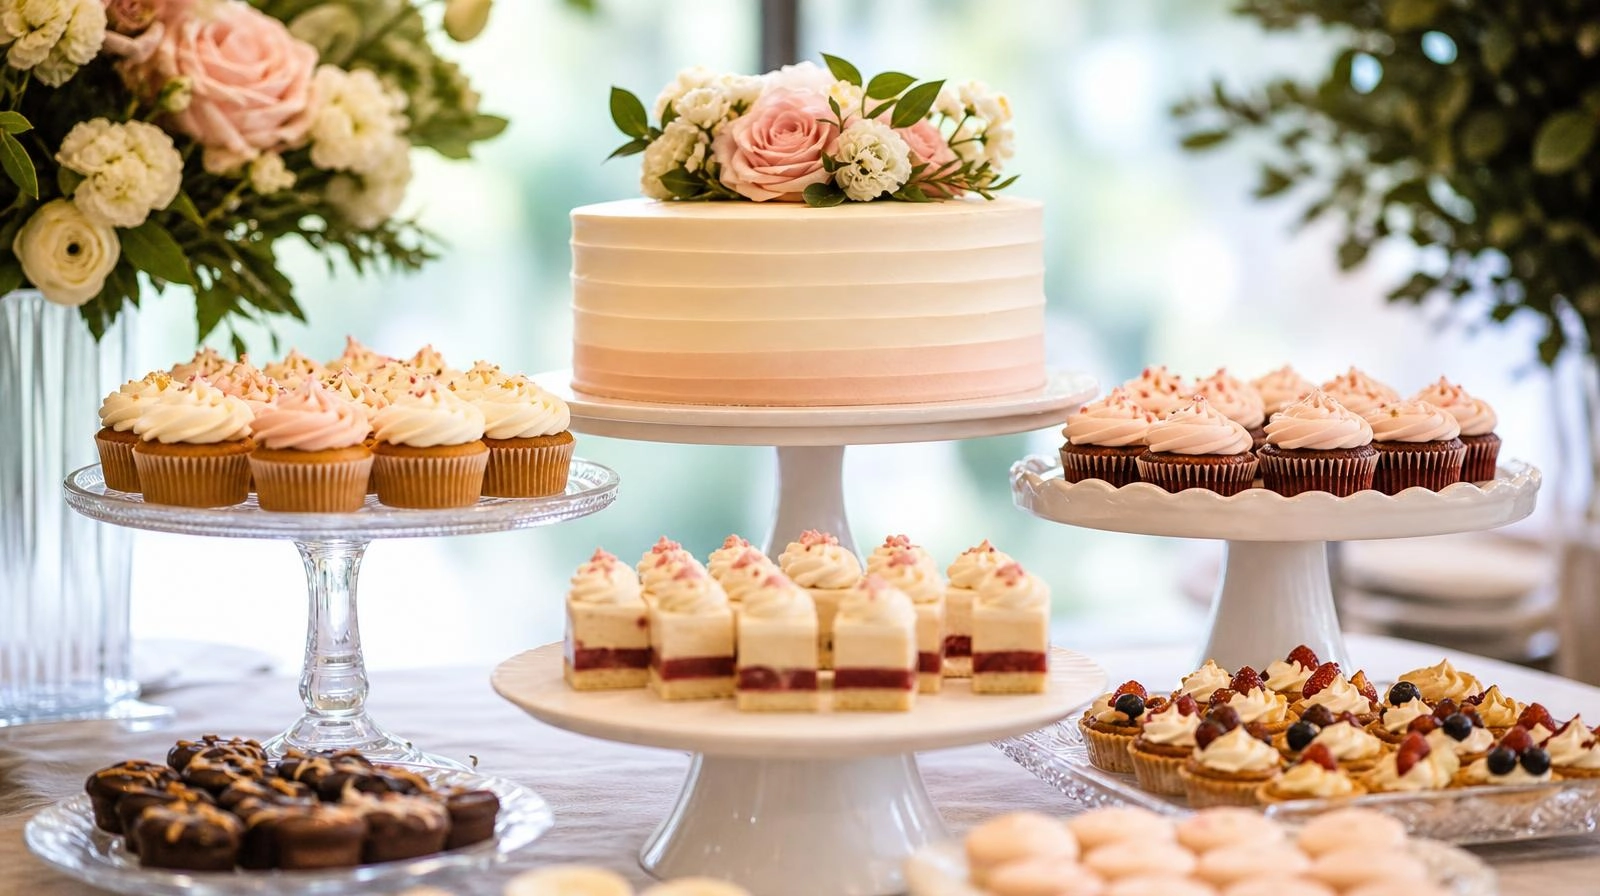 Varying the heights of your stands and risers is the trick that makes a table look styled.
Step 4 — Place the cake first, then the rest
Put the cake in the center or slightly off to one side. Then fill in around it with cupcakes, cookies, and treats. Work from tall to short.
Step 5 — Fill the gaps and add small touches
Add flowers, greenery, or a small sign to fill empty spots. Do not overcrowd. A little space between items looks clean.
Add a backdrop
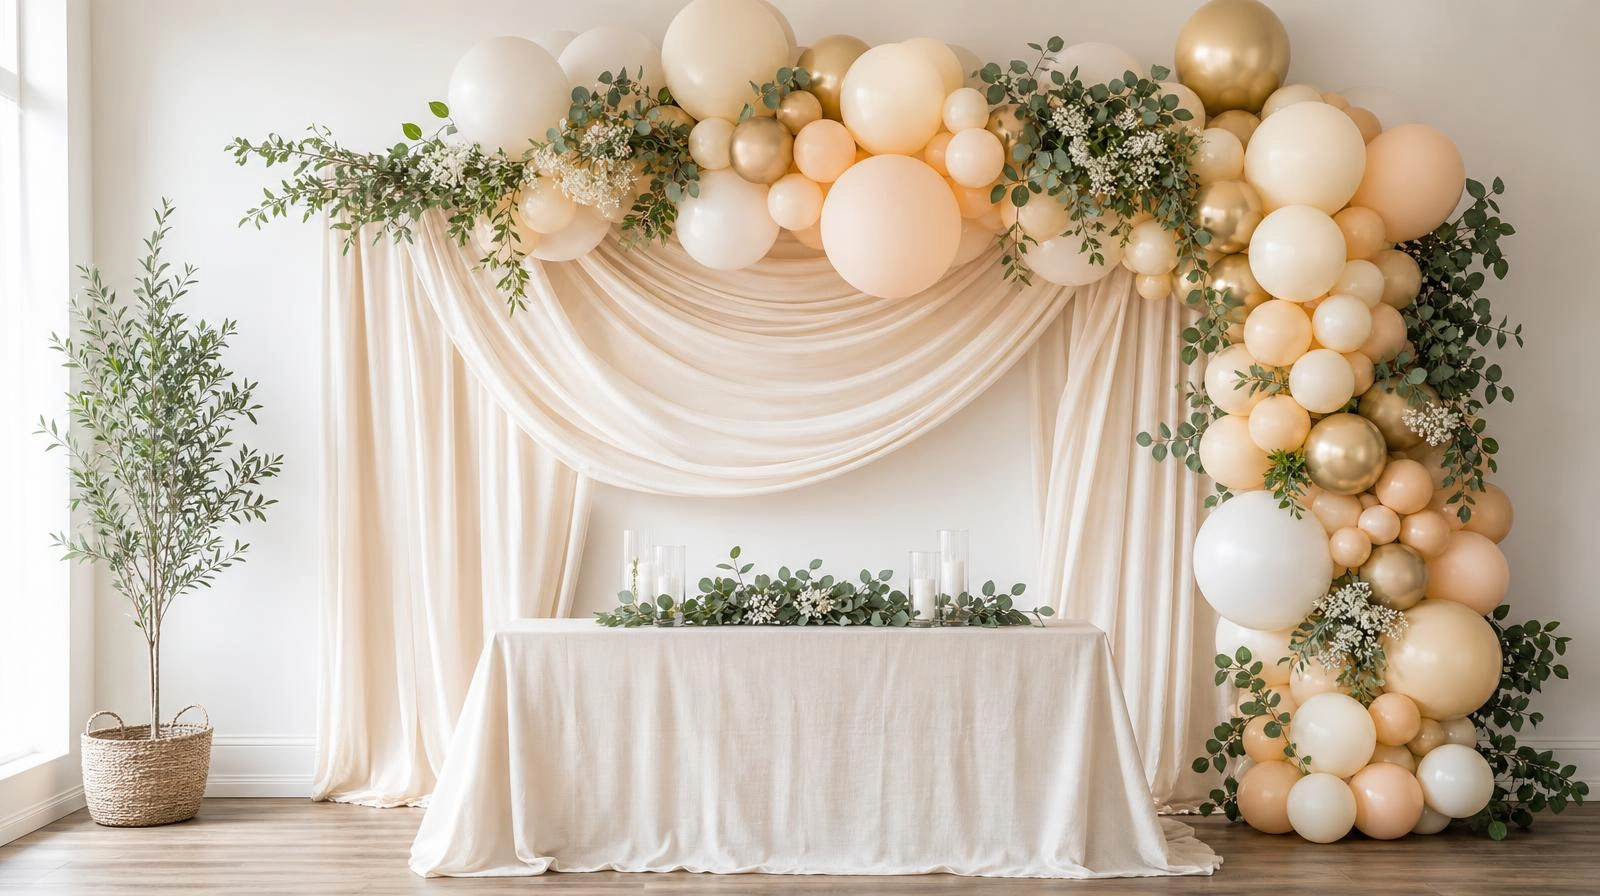
A backdrop turns a plain table into a full display. It gives you a frame for photos and hides the wall behind. A balloon garland is the most popular choice. Draped fabric, a greenery wall, or a paper flower wall all work too. For more options, see our party backdrop ideas.
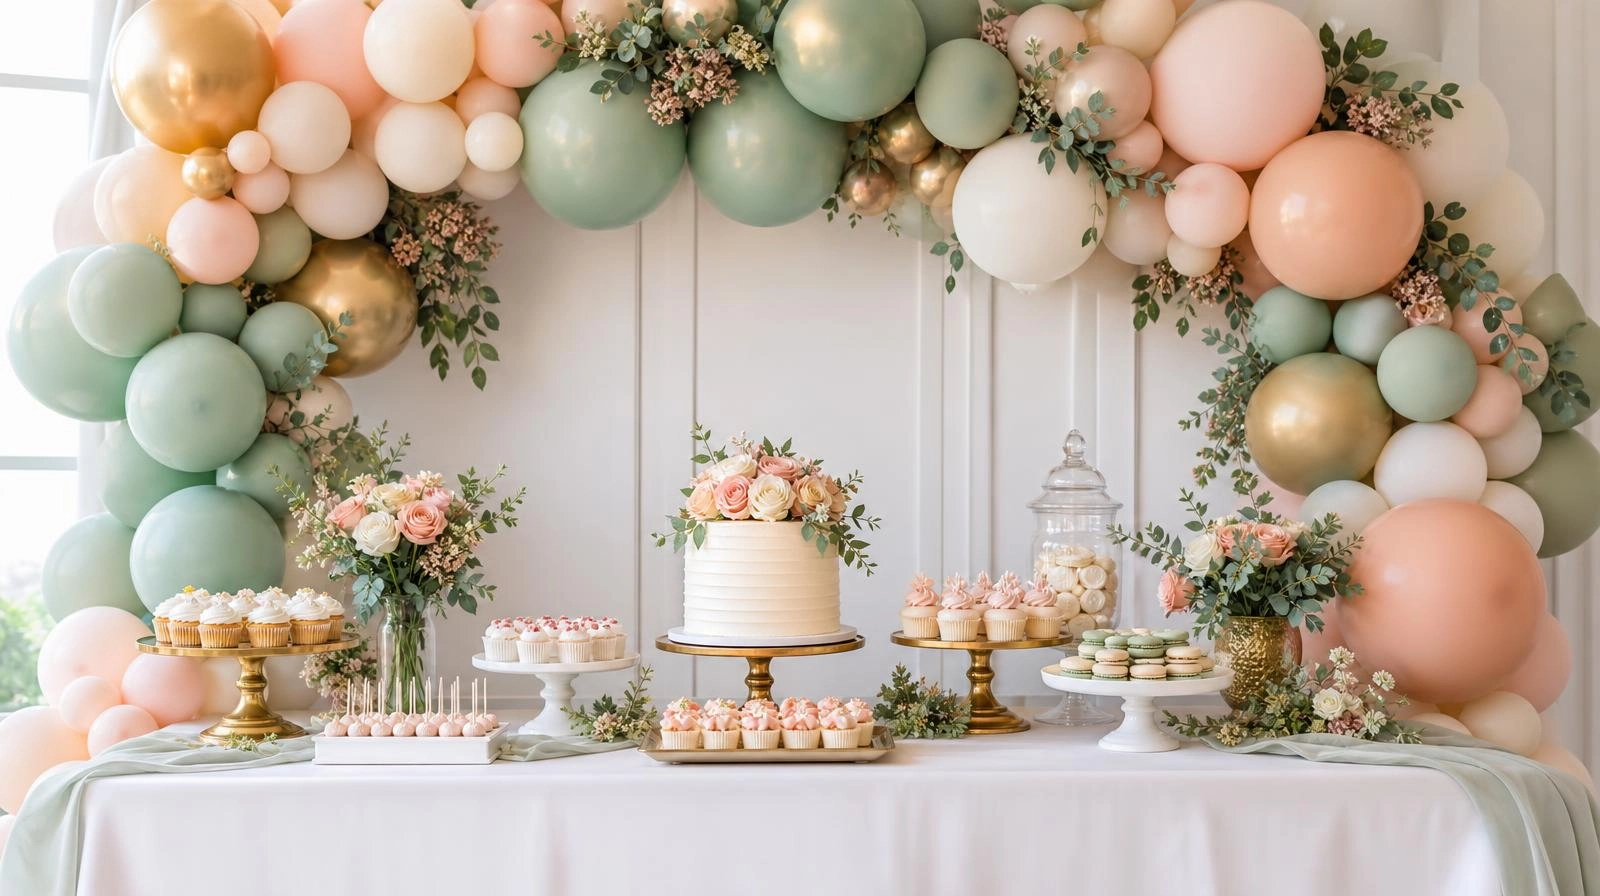 A backdrop frames the table and gives your photos a clean, finished look.
Color and styling tips
Stick to two or three colors so everything matches. Repeat your colors across the treats, the tableware, and the backdrop. Use trays and jars to group small items. Odd numbers, like three or five, look more natural than pairs.
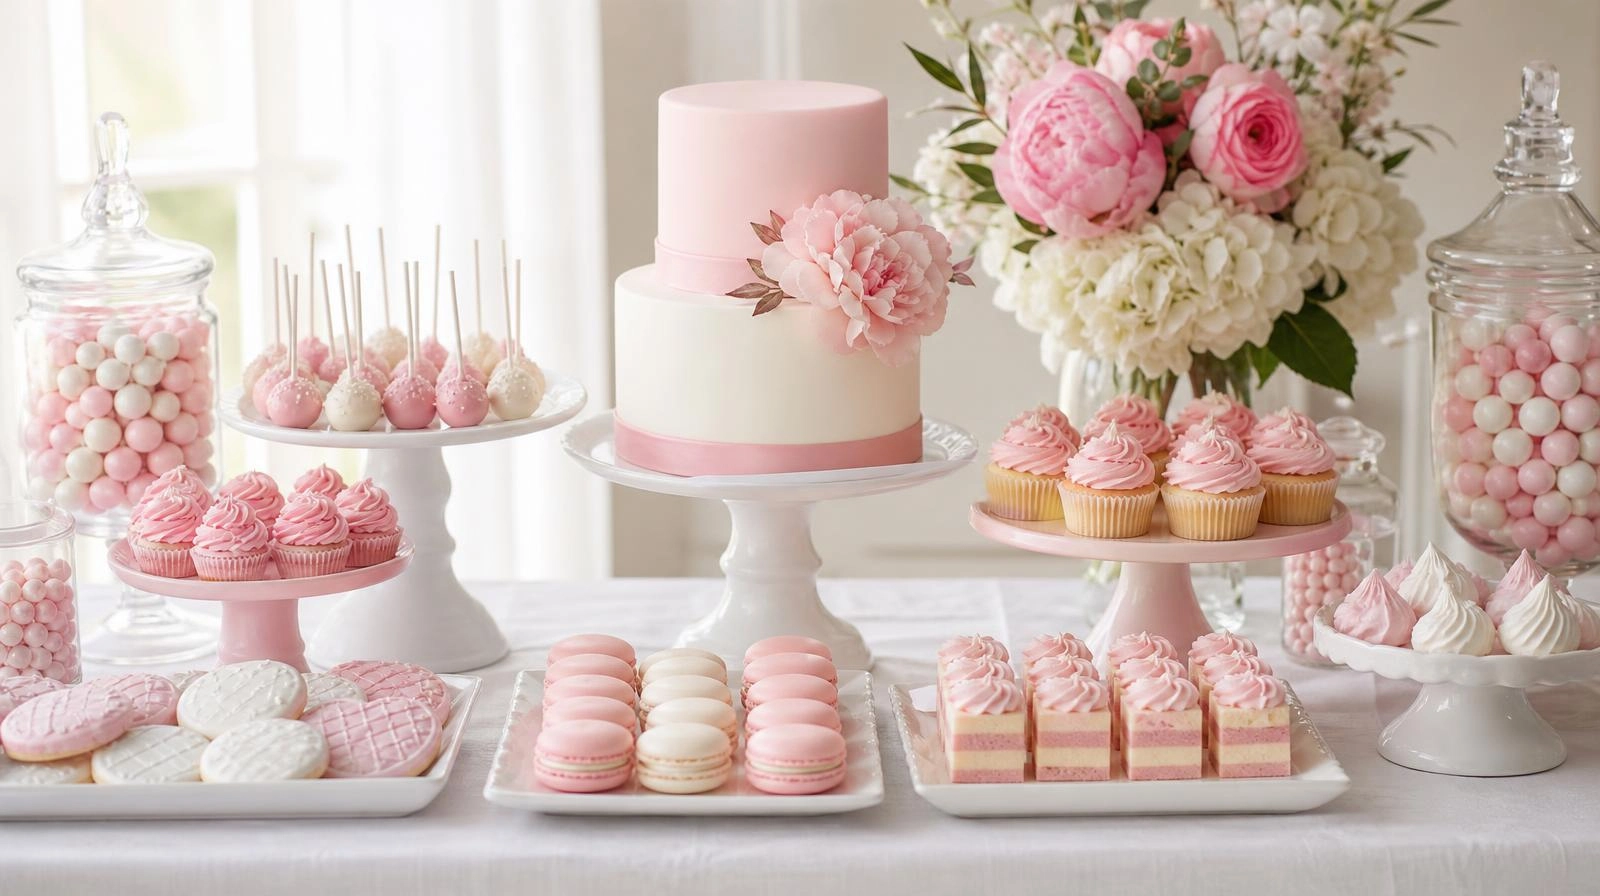 Repeating two or three colors across the treats and tableware makes the whole table look planned.
Before and after
The difference a backdrop and some height make is huge. Here is the same table before and after.
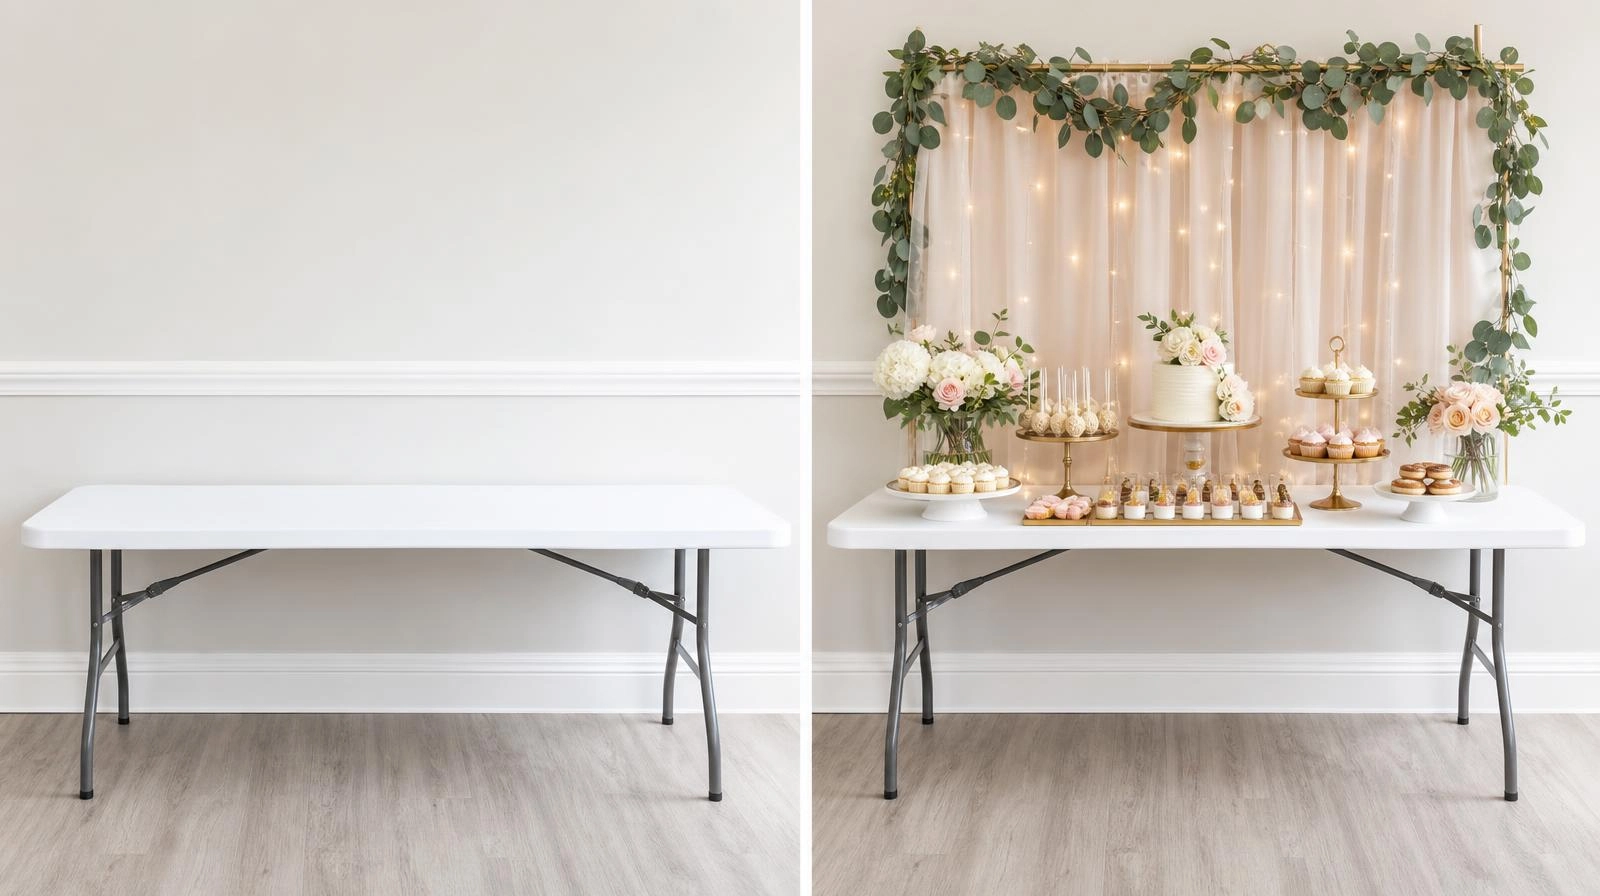 The same table, transformed with a backdrop, height, and a simple color plan.
Photography tips
Your dessert table is made for photos. A few easy tricks help:
- Shoot near a window for soft, natural light.
- Take one photo straight on and one from the side.
- Get a close-up of the cake and a wide shot of the whole table.
- Turn off harsh overhead lights.
- Take your photos before guests arrive, while everything is fresh.
Common mistakes to avoid
- A flat table. Without height, the table looks plain. Add stands and risers.
- Too many colors. Stick to two or three so it looks clean.
- Overcrowding. Leave a little space between items.
- No backdrop. A bare wall makes the table look unfinished.
- Setting it in a dark corner. Put the table where the light is good.
Advanced Planning Tips
- Dessert Quantity Calculator: Plan for 3-4 mini desserts per guest, plus one slice of the main cake.
- Outdoor Food Safety: If you are outside, keep the dessert table in the shade. Use covers or food tents to keep bugs away, and avoid buttercream or chocolate that will melt in the heat.
- Cleanup and Storage: Have a few large plastic containers ready behind the table to quickly pack up leftover treats at the end of the night.
Printable Setup Timeline
| Timeframe | Setup Task |
|---|---|
| 1 Week Before | Gather all stands, risers, and the tablecloth. |
| 1 Day Before | Hang the backdrop and arrange empty stands on the table to test the layout. |
| 2 Hours Before | Place non-perishable treats (like cookies and candies) on the table. |
| 30 Mins Before | Bring out the cake and any chilled desserts. |
(Take a screenshot or copy this into your phone to stay organized on party day!)
Troubleshooting
- My table looks flat. You need more height. Add cake stands, risers, or hidden boxes under the cloth.
- My table looks messy. You have too many colors or items. Cut back and stick to your palette.
- There are empty gaps. Fill them with flowers, greenery, or extra treats.
- The backdrop keeps falling. Use more Command hooks and hang the heaviest part first.
- Photos look dull. Move the table near a window and turn off overhead lights.
Dessert table checklist
- Table and matching cloth
- Backdrop (balloon garland or fabric)
- Cake stands and risers for height
- Plates, trays, and jars
- Cake, cupcakes, cookies, and treats
- Flowers or greenery to fill gaps
- Two or three matching colors
- Good light or a spot near a window
FAQ
How do I set up a dessert table?
Start with a covered table against a wall and hang a backdrop behind it. Add cake stands and risers to create different heights. Place the cake first, then fill in with treats from tall to short. Add flowers or greenery to fill any gaps.
What do I need for a dessert table?
You need a table, a cloth, a backdrop, cake stands and risers, plates and jars, your treats, and a few small decorations like flowers. Most of this you likely already have at home.
How do I make my dessert table look professional?
Add height with stands and risers, use a backdrop, and stick to two or three colors. Height and a backdrop are the two things that make a dessert table look styled rather than plain.
How big should a dessert table be?
A standard folding table fits a cake and treats for most home parties. For a bigger crowd, use a longer table or add a second one. Leave room for guests to walk up and serve themselves.
What backdrop is best for a dessert table?
A balloon garland is the most popular and highest impact. Draped fabric, a greenery wall, or a paper flower wall all work well too. Pick one that matches your party colors.
How far in advance can I set up a dessert table?
Set up the table, backdrop, and stands the day before. Add the cake and treats a few hours before the party so they stay fresh. Keep anything that melts out of direct sun and heat.
How do I fill an empty-looking dessert table?
Add height with more stands, group treats on trays and in jars, and fill gaps with flowers or greenery. A small sign or a few extra cookies also help fill space without crowding.
 📌 Pin this for later!