How to Make a Balloon Arch (Easy Step-by-Step Guide)
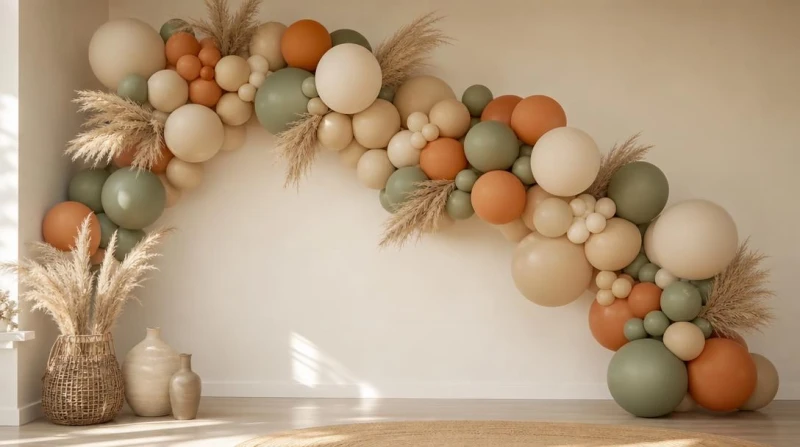
Making a balloon arch is easier than it looks: you inflate balloons in mixed sizes, tie them onto a balloon decorating strip, fill the gaps with small balloons, and hang the finished garland with Command hooks — no helium, no professional, and no big budget required. Learn how to make a balloon arch once and you’ll use it for everything, from first birthdays to baby showers.
Here at DecorWillow, we’ve built dozens of arches for real backyard parties and indoor setups. One thing we’ve learned the hard way? Upgrading to quality matte balloons saves you from the “midnight popping” sounds that keep you awake before the party!
Below is the full walkthrough — supplies, how many balloons to buy, the build, colors, hanging, cost, troubleshooting, and the mistakes that trip up most first-timers.
- Difficulty: Easy (beginner-friendly)
- Time: about 1.5–2.5 hours
- Cost: ~$30–$45
- Balloons: 60–100
- Helium: not needed
Table of Contents
- What you’ll need
- How many balloons do you need?
- How to make a balloon arch step by step
- Types of balloon arches
- Balloon arch color ideas by occasion
- How to hang a balloon arch (indoor vs outdoor)
- How much does a DIY balloon arch cost?
- Common mistakes to avoid
- Troubleshooting
- Balloon arch checklist
- Safety tips
- FAQ
What you’ll need
Everything here is inexpensive and easy to find online or at a craft store:
- Balloons — 60–100 for a 5–6 foot garland, in 2–4 colors and mixed sizes (5-inch, 11-inch, and a few 16-inch)
- Balloon decorating strip — plastic tape with holes that makes building almost foolproof
- Glue dots — for tucking small balloons into gaps
- A balloon pump — a hand pump saves your lungs and speeds things up
- Command hooks or fishing line — for hanging
- Optional extras — pampas grass, greenery, or paper flowers for texture
One thing most beginners overlook: balloon quality matters more than quantity. We recommend matte balloons from brands like Qualatex, Tuftex, or Sempertex — they hold color, resist popping, and skip the cheap shine far better than generic party-store balloons. For a garland you’ll photograph, the small upgrade is worth it.
How many balloons do you need?
Buying the right amount is where most people guess wrong. Use this as a starting chart, then add about 10 extra — beginners typically pop 5–8 balloons while building.
| Arch length | Approx. balloons | Best for |
|---|---|---|
| 4 ft | 40–60 | Cake table, small backdrop |
| 6 ft | 70–100 | Photo corner, most home parties |
| 8 ft | 120–160 | Doorways, entrances |
| 10 ft+ | 180+ | Large backdrops, stages |
Mixing sizes is what makes a garland look full and organic instead of stiff:
| Balloon size | Role in the garland |
|---|---|
| 5-inch | Filling gaps |
| 11-inch | The main body |
| 16-inch | Focal points |
A quick styling note from experience with these palettes: on a backdrop under 6 feet wide, go easy on the 16-inch balloons — a few large focal balloons overpower a small frame and eat up your space fast.
How to make a balloon arch step by step
The secret to a full, professional-looking arch is variety — mixing sizes and clustering them tightly so there are no gaps. Our preferred approach is an organic garland, which is the most forgiving style for beginners.
Step 1 — Inflate a range of sizes
Blow up your balloons to different sizes, even within the same size balloon — some big, some medium, some small. Don’t max them out either; inflating to about 90% keeps them from popping overnight as the air settles.
Step 2 — Tie balloons in pairs
Tie two balloons together at the knot, then tie two more. You’ll thread these pairs onto the decorating strip, so working in pairs keeps things fast and balanced.
Step 3 — Thread pairs onto the strip
Push the knot of each pair through a hole in the decorating strip. Alternate the direction of each pair — one facing left, the next right — so the garland fills out on both sides. We recommend starting from your largest focal cluster and working outward, rather than from the center.
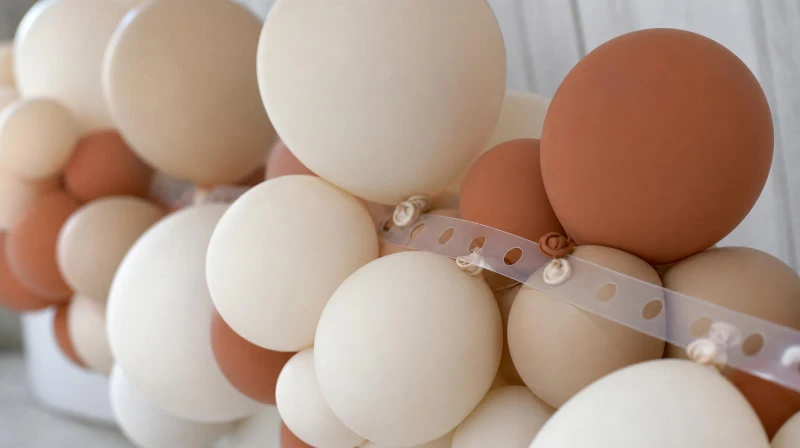 Tying balloons in pairs and varying the sizes gives the garland that full, organic look.
Step 4 — Fill the gaps
Once your base garland is built, you’ll see small gaps. Inflate a handful of 5-inch balloons and attach them into the gaps with glue dots. This step is what separates a homemade look from a polished one.
Step 5 — Add texture (optional)
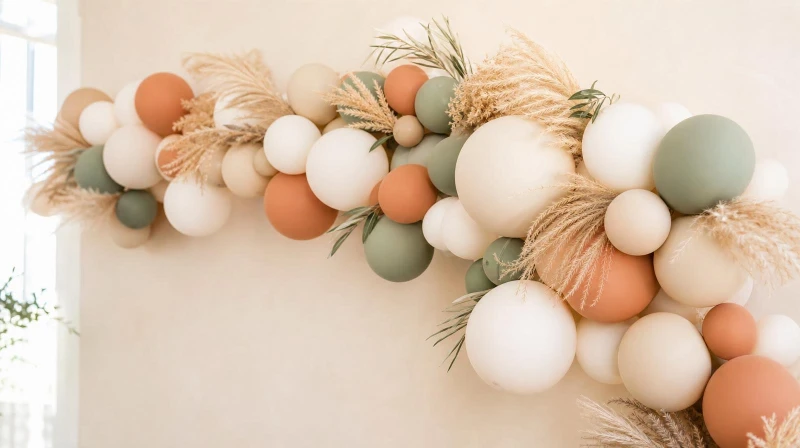
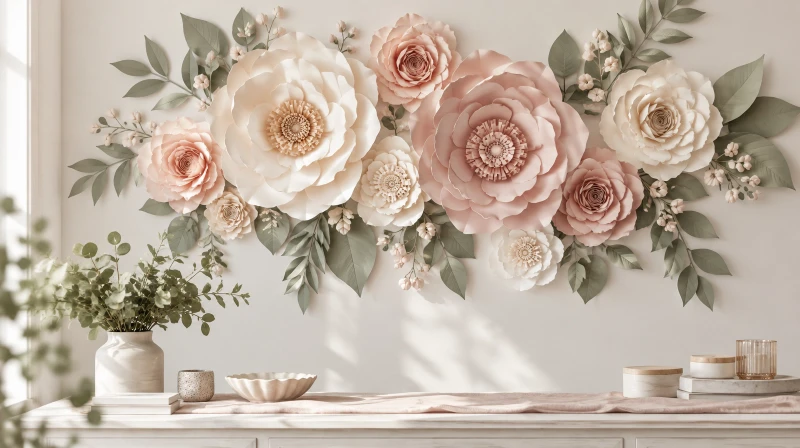
Tuck in pampas grass, eucalyptus, or paper flowers for a boho finish. A few pieces go a long way, so start with less and add as needed.
Types of balloon arches
Not every arch is the same shape. Pick the style that fits your space:
- Organic garland — clustered, asymmetrical, draped along a wall or over a table. Easiest for beginners.
- Half arch — runs up one side and across the top of a backdrop. Great for photo corners.
- Full arch — a complete arch on a frame or stand, usually for entrances.
- Balloon column — a tall vertical cluster, perfect for flanking a dessert table.
Organic Garland vs. Classic Arch
If you’re torn between the two most popular styles, here is a quick comparison:
| Feature | Organic Garland | Classic Arch |
|---|---|---|
| Vibe | Modern, flowing, natural | Traditional, structured, uniform |
| Balloon Sizes | Mixed (5”, 11”, 16”) | Usually all the same size |
| Difficulty | Very easy and forgiving | Requires a frame and precise sizing |
| Best For | Photo backdrops, dessert tables | Large entrances, grand openings |
For a first attempt at home, the organic garland gives the biggest impact for the least effort. Browse our other decor ideas if you need inspiration for styling the rest of your space!
Balloon arch color ideas by occasion
Your palette does most of the styling work. A good rule: stick to three or four colors, with one dominant, two supporting, and a small pop. Which colors depends on the event:
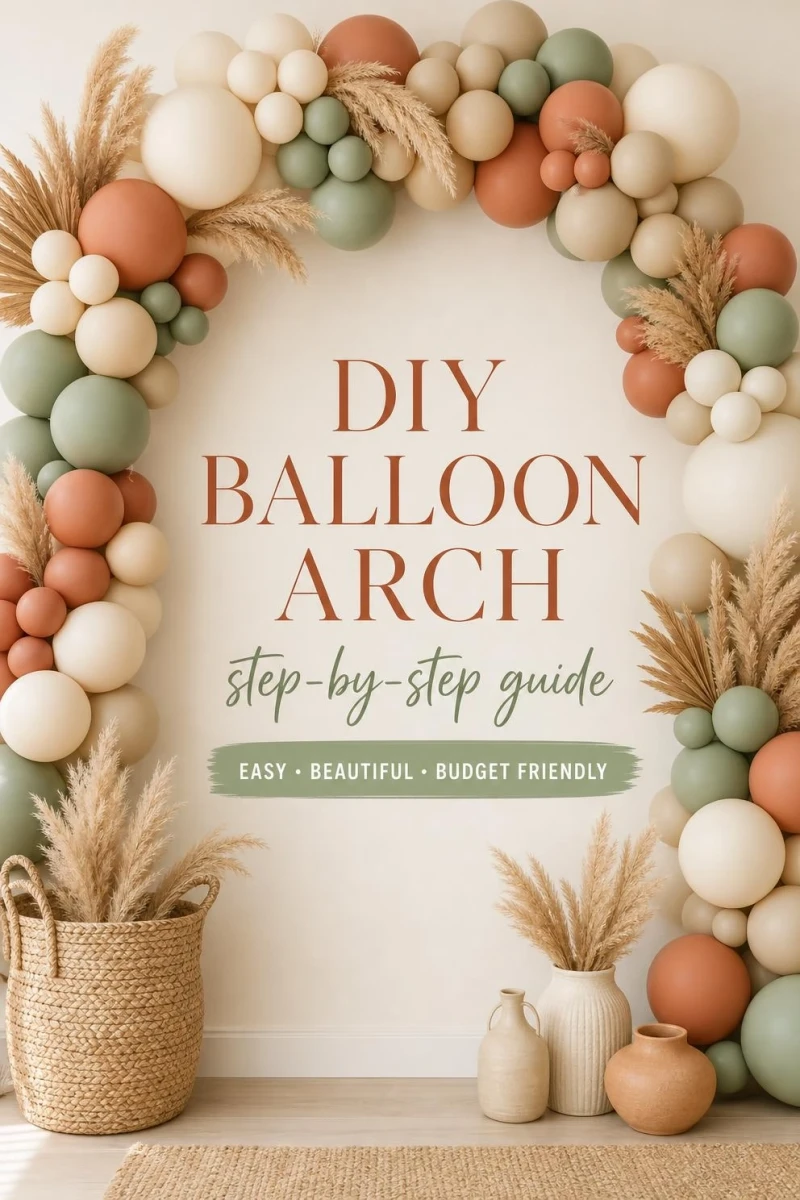
- First birthday / boho — cream, sand, terracotta, and sage
- Kids under five — keep it to four colors or fewer; a busy palette competes with the cake table in photos
- Baby shower (neutral) — cream, sage, and soft beige
- Girl party — blush, rose, ivory, and gold
- Boy party — navy, sky blue, gray, and white
- Adult / milestone — two colors plus one metallic accent for an elegant look
One trick worth knowing: lay your color mix out on the floor before you attach anything to the strip. Colors often look different once they’re clustered together, and it’s much easier to swap a shade now than after the garland is built. We also keep the largest cluster slightly off-center — a perfectly symmetrical arch tends to photograph flatter than an asymmetrical one.
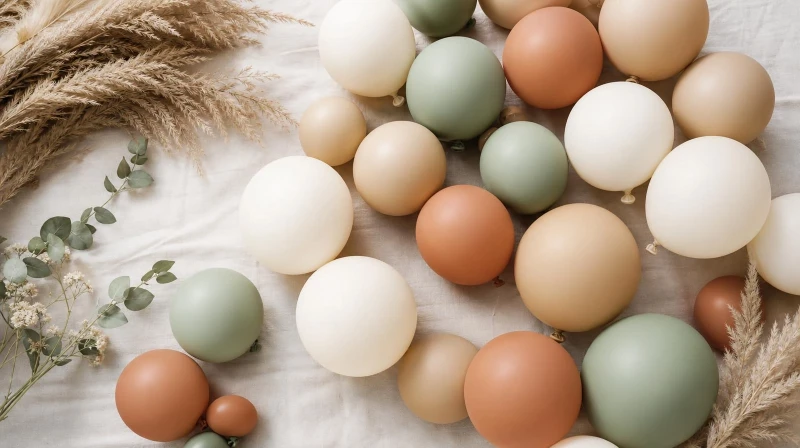 Lay your color palette out before inflating to make sure the shades complement each other.
How to hang a balloon arch (indoor vs outdoor)
A garland is only as good as the way it’s hung — and indoor and outdoor setups are not the same.
Indoors, use Command hooks: press small hooks along your planned line, then hook the decorating strip onto them. They hold well and peel off cleanly, which makes them ideal for renters and painted walls. Standard latex is fine indoors, and fishing line works too for stretching a garland across a backdrop frame.
Outdoors takes more planning. Heat, sun, and humidity make single-layer latex go translucent and pop, so we double-stuff outdoor balloons (one balloon inside another) for durability and richer color. Secure the garland to a sturdy frame rather than a wall, keep it out of direct afternoon sun, and build on-site whenever possible.
Transporting a finished arch: if you must move one, lay it flat across a back seat or in a trunk with the seats down, never crammed upright, and avoid a hot car — a garland left in the sun during transport will start popping before the party even begins. For anything outdoor or off-site, building on location is far safer.
Whichever setup you use, hang your heaviest, fullest section first, then arrange the tail ends so the garland tapers naturally.
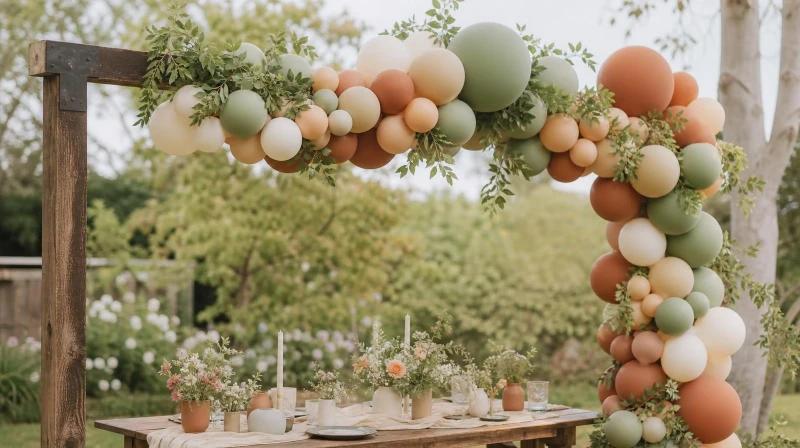 For outdoor setups, always secure your balloons to a heavy frame rather than relying on tape or string.
How much does a DIY balloon arch cost?
A DIY garland costs a fraction of a professional install (which often runs $150–$400). Here’s a realistic breakdown for a 6-foot arch:
| Item | Approx. cost |
|---|---|
| Balloons (about 100) | $12–$20 |
| Balloon decorating strip | $5–$8 |
| Glue dots | $4 |
| Hand pump | $6–$10 |
| Command hooks | $4 |
| Total | ~$30–$45 |
Time: plan on about 1.5–2.5 hours for a first 6-foot arch, including inflating. It gets much faster the second time.
Common mistakes to avoid
Most disappointing balloon arches come down to the same handful of errors. Here’s what to watch for — and the fix.
- Spacing balloons evenly. The number-one giveaway of a DIY arch — it reads like a store-bought kit. Cluster balloons in tight, uneven groups instead.
- Leaving gaps. A full look is about clustering and gap-fillers, not more balloons. Add 5-inch balloons into open spaces.
- Overinflating. Fully maxed balloons expand overnight and pop. Inflate to about 90%.
- Using one size. All-same-size balloons look flat. Mix 5-, 11-, and 16-inch.
- Cheap balloons. Thin balloons pop while you build and deflate by morning.
- Building too early. Air-filled balloons look best within 24 hours; build 1–2 days ahead, not weeks.
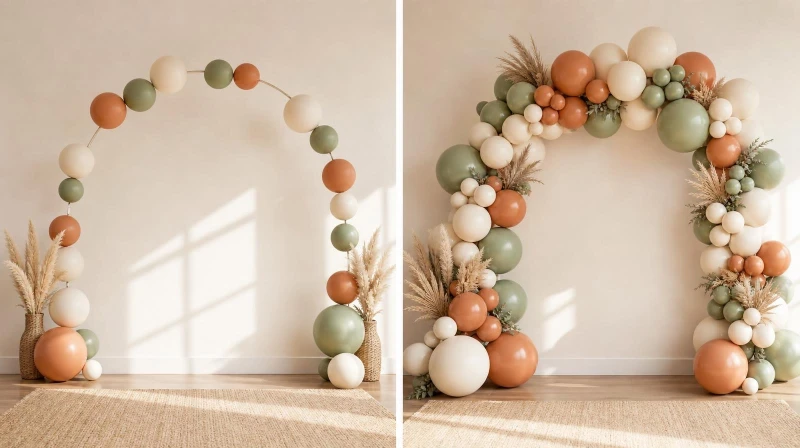 Filling gaps with 5-inch balloons takes your arch from looking like a DIY kit to a professional installation.
Troubleshooting
Running into a problem mid-build? Here are the fixes for the issues people ask about most.
- My balloons keep popping. You’re likely overinflating or using thin balloons. Inflate to 90%, switch to a quality matte brand, and keep them out of heat and direct sun.
- My arch keeps sliding down the wall. The decorating strip is too heavy for the hooks, or the hooks aren’t set. Add more Command hooks along the line and hook the strip at several points, not just the ends.
- The decorating strip bends or kinks. You’re clustering too much weight in one spot. Distribute large balloons evenly and let the strip curve naturally instead of forcing a shape.
- My Command hooks fall off the wall. The wall was dusty or damp when you applied them, or you didn’t wait. Clean and dry the wall, press firmly, and wait an hour before hanging anything.
- My arch looks flat or sparse. You skipped the gap-fillers or used all one size. Add 5-inch balloons into the gaps and work in more clustering.
Balloon arch checklist
Save this quick checklist so you have everything ready before you start:
- 60–100 balloons in 2–4 colors (mixed 5”, 11”, 16”) + 10 spares
- Balloon decorating strip
- Glue dots
- Balloon pump
- Command hooks or fishing line
- Optional: pampas grass / greenery / paper flowers
- Lay out your color mix on the floor first
- Inflate to ~90%, mix sizes
- Build from the largest cluster outward
- Fill gaps with 5-inch balloons
- Hang the fullest section first
Safety tips
A few things worth keeping in mind, especially around little ones:
- Latex allergies are common. If a guest is sensitive, use foil balloons instead of latex.
- Popped and uninflated balloons are a choking hazard for children under three. Clean up pieces immediately.
- Keep pets away — dogs and cats can chew and swallow balloon scraps.
- Secure large arches so they can’t fall on children or block an exit.
FAQ
How many balloons do I need for a balloon arch?
For a 5–6 foot organic garland, plan on about 60–100 balloons in mixed sizes, plus 10 extra for popped ones. Larger arches for entrances can use 150 or more. Mixing 5-inch, 11-inch, and 16-inch balloons gives the fullest look.
Do you need helium to make a balloon arch?
No. Balloon arches are made with air, not helium. The balloons attach to a decorating strip and hold their shape on their own, which also makes them last longer than helium balloons.
How far in advance can I make a balloon arch?
Build it 1–2 days before the party. Air-filled balloons stay full for 2–3 days but look their best within the first 24 hours. Keep the finished garland somewhere cool and out of direct sunlight.
Which balloons last longest for an outdoor arch?
Double-stuffed matte balloons (one inside another) hold up best outdoors, since a single layer goes translucent and pops in heat and sun. Build outdoor arches on-site and keep them out of direct afternoon sun.
How do you hang a balloon arch without damaging the wall?
Use Command hooks, which hold the decorating strip securely and peel off without leaving marks. Space the hooks along your planned line and hook the garland onto them. This is the best option for renters and painted walls.
Why does my balloon arch look gappy?
Gaps usually mean the balloons are spaced too evenly or you skipped the gap-filler step. Cluster balloons tightly in uneven groups, then add small 5-inch balloons into any open spaces with glue dots for a full, professional finish.
Can you reuse a balloon arch?
An air-filled arch can last up to a week if kept cool and indoors, so you can enjoy it for a few days. Once the balloons start to deflate, they can’t be re-inflated to the same shape, so a garland is best treated as a one-event decoration.
How do you handle wind resistance for an outdoor arch?
Wind is the biggest enemy of an outdoor balloon setup. Always secure your garland to a heavy, rigid frame (like a metal hoop or weighted backdrop stand) using strong zip ties instead of fishing line. Keep the setup against a solid wall if possible to block the wind.
Does ceiling height matter when planning an arch?
Yes! If you are planning an indoor arch that spans over a table or a backdrop, you need at least 1–2 feet of clearance between the top of the balloons and the ceiling. Measure your ceiling height before deciding to build an 8-foot or taller structure.
 📌 Pin this for later!